Final project : Sound Reactive RGB strip
Materials Needed :
- Arduino Uno board x1 ( The embedded microcontroller)
- Full sized bread-board x1
- Sound sensor module x1
- Stepper motor x1
- RGB LED strip (appropriate length)
- Male to female and male to male jumper cables
- 5mm Acrylic boards( Laser cut )
- Transistor x3
-
- 1k ohm Resistor x3
-
My inspiration
I have always been a huge fan of making and listening to music, it is one of the things that I cannot live without. So when presented an opportunity to create our own project with everything that we have learned, I instantly wanted to do something related to music. As I was searching up for ideas online, I saw this thing called a Spectrum Analyzer. It visualises music based on the pitch and volume and displays it on a LED matrix. But as I researched more into the project, I found it to be slightly unmanagable due to varies reasons. Hence, I decided to substitude the LED matrix with a RGB LED strip and for it to react to music.
SKetch and rough idea


`
From here, I tried to use CAD to create my design
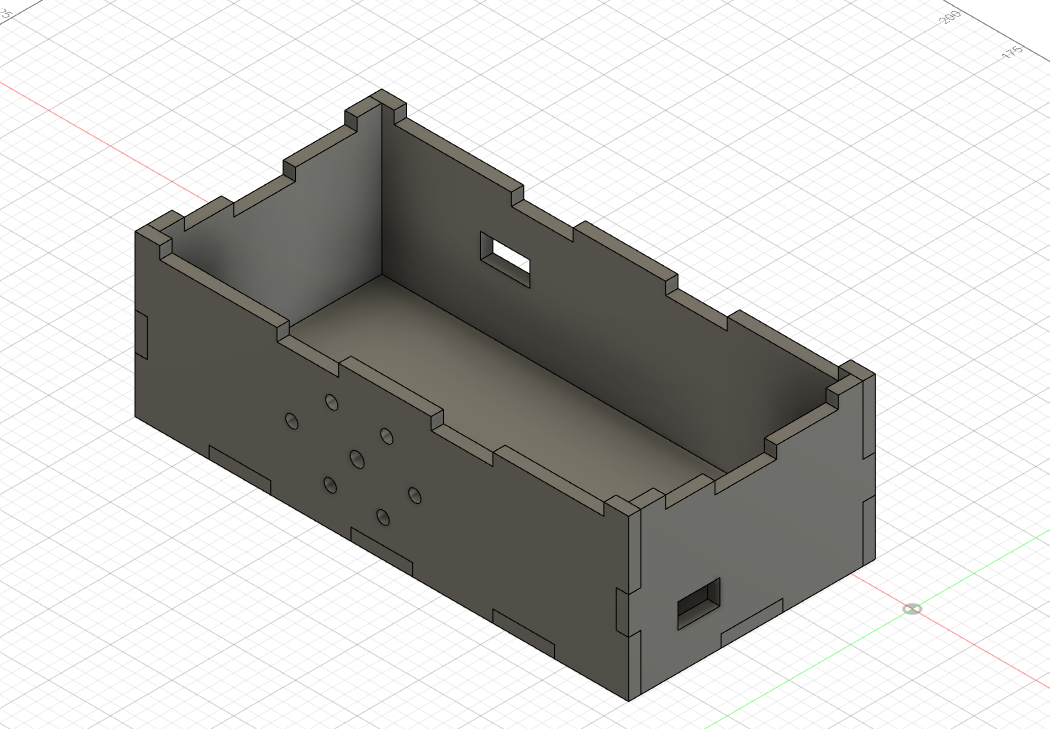
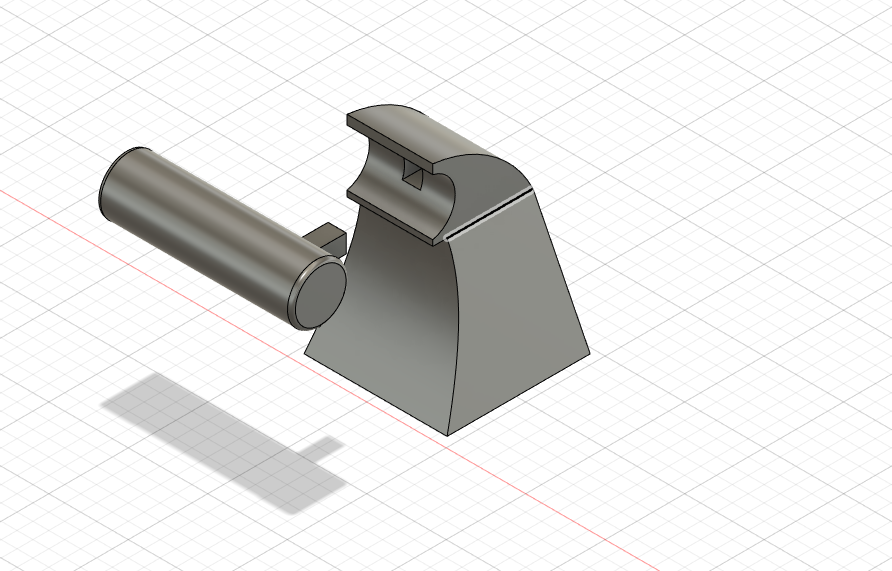
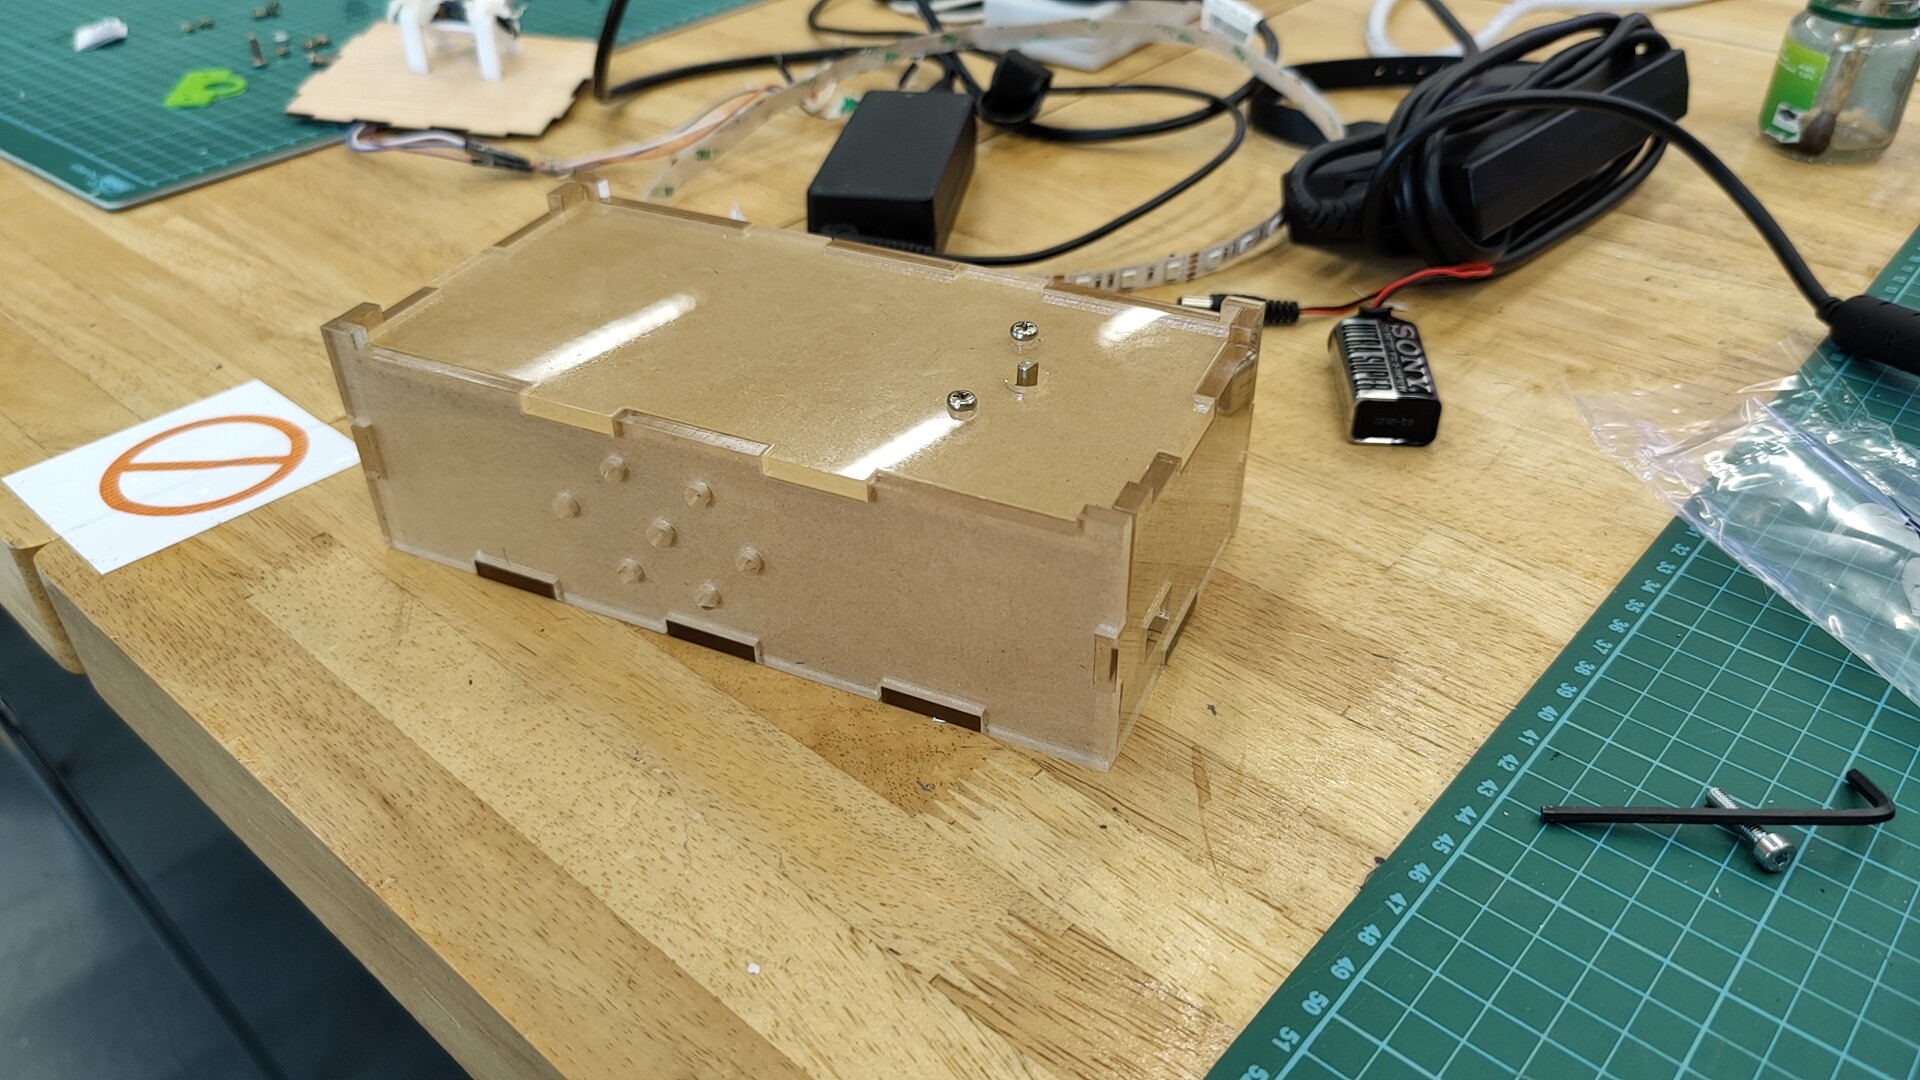
I added some holes at the front since I decided that my electric circuit will be kept inside the box, so the holes are there for the sound sensor to still pick up on the different sounds.
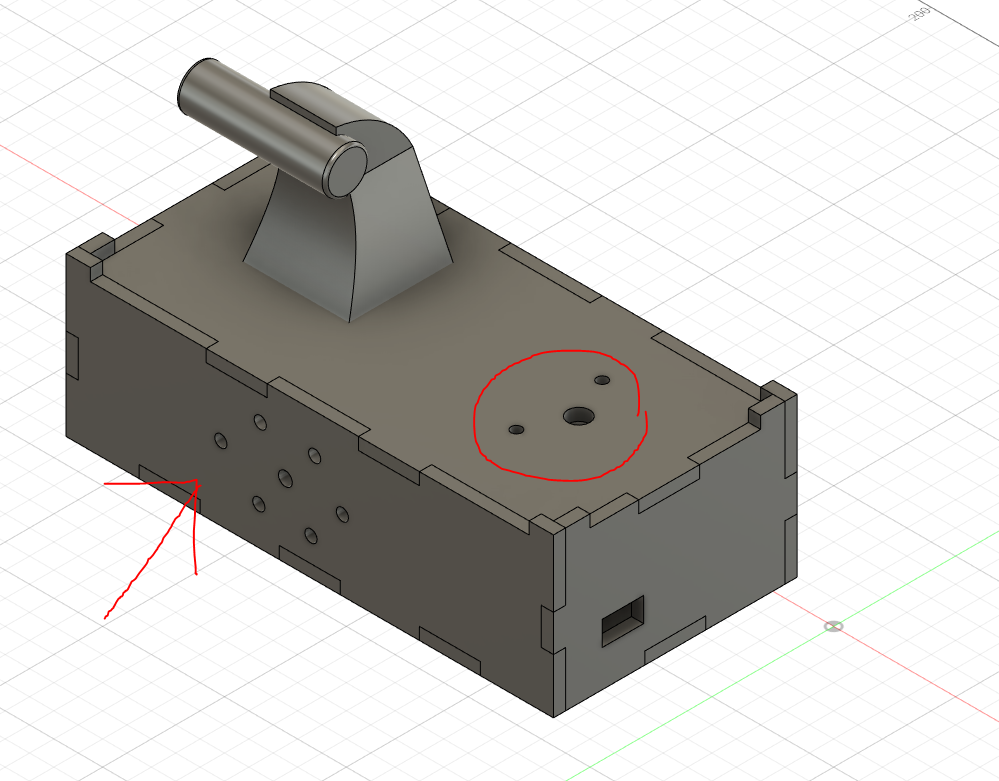
Here I added some hole for stepper motor on the top panel as I decided to include a stepper motor which spins an object, I believe it will make the project more asthetically pleasing, while also helping to fill up space on the box.
From here, I pretty much finalized my design and started on laser cutting and 3D printing.
Laser cutted Acrylic Box of thickness 5mm
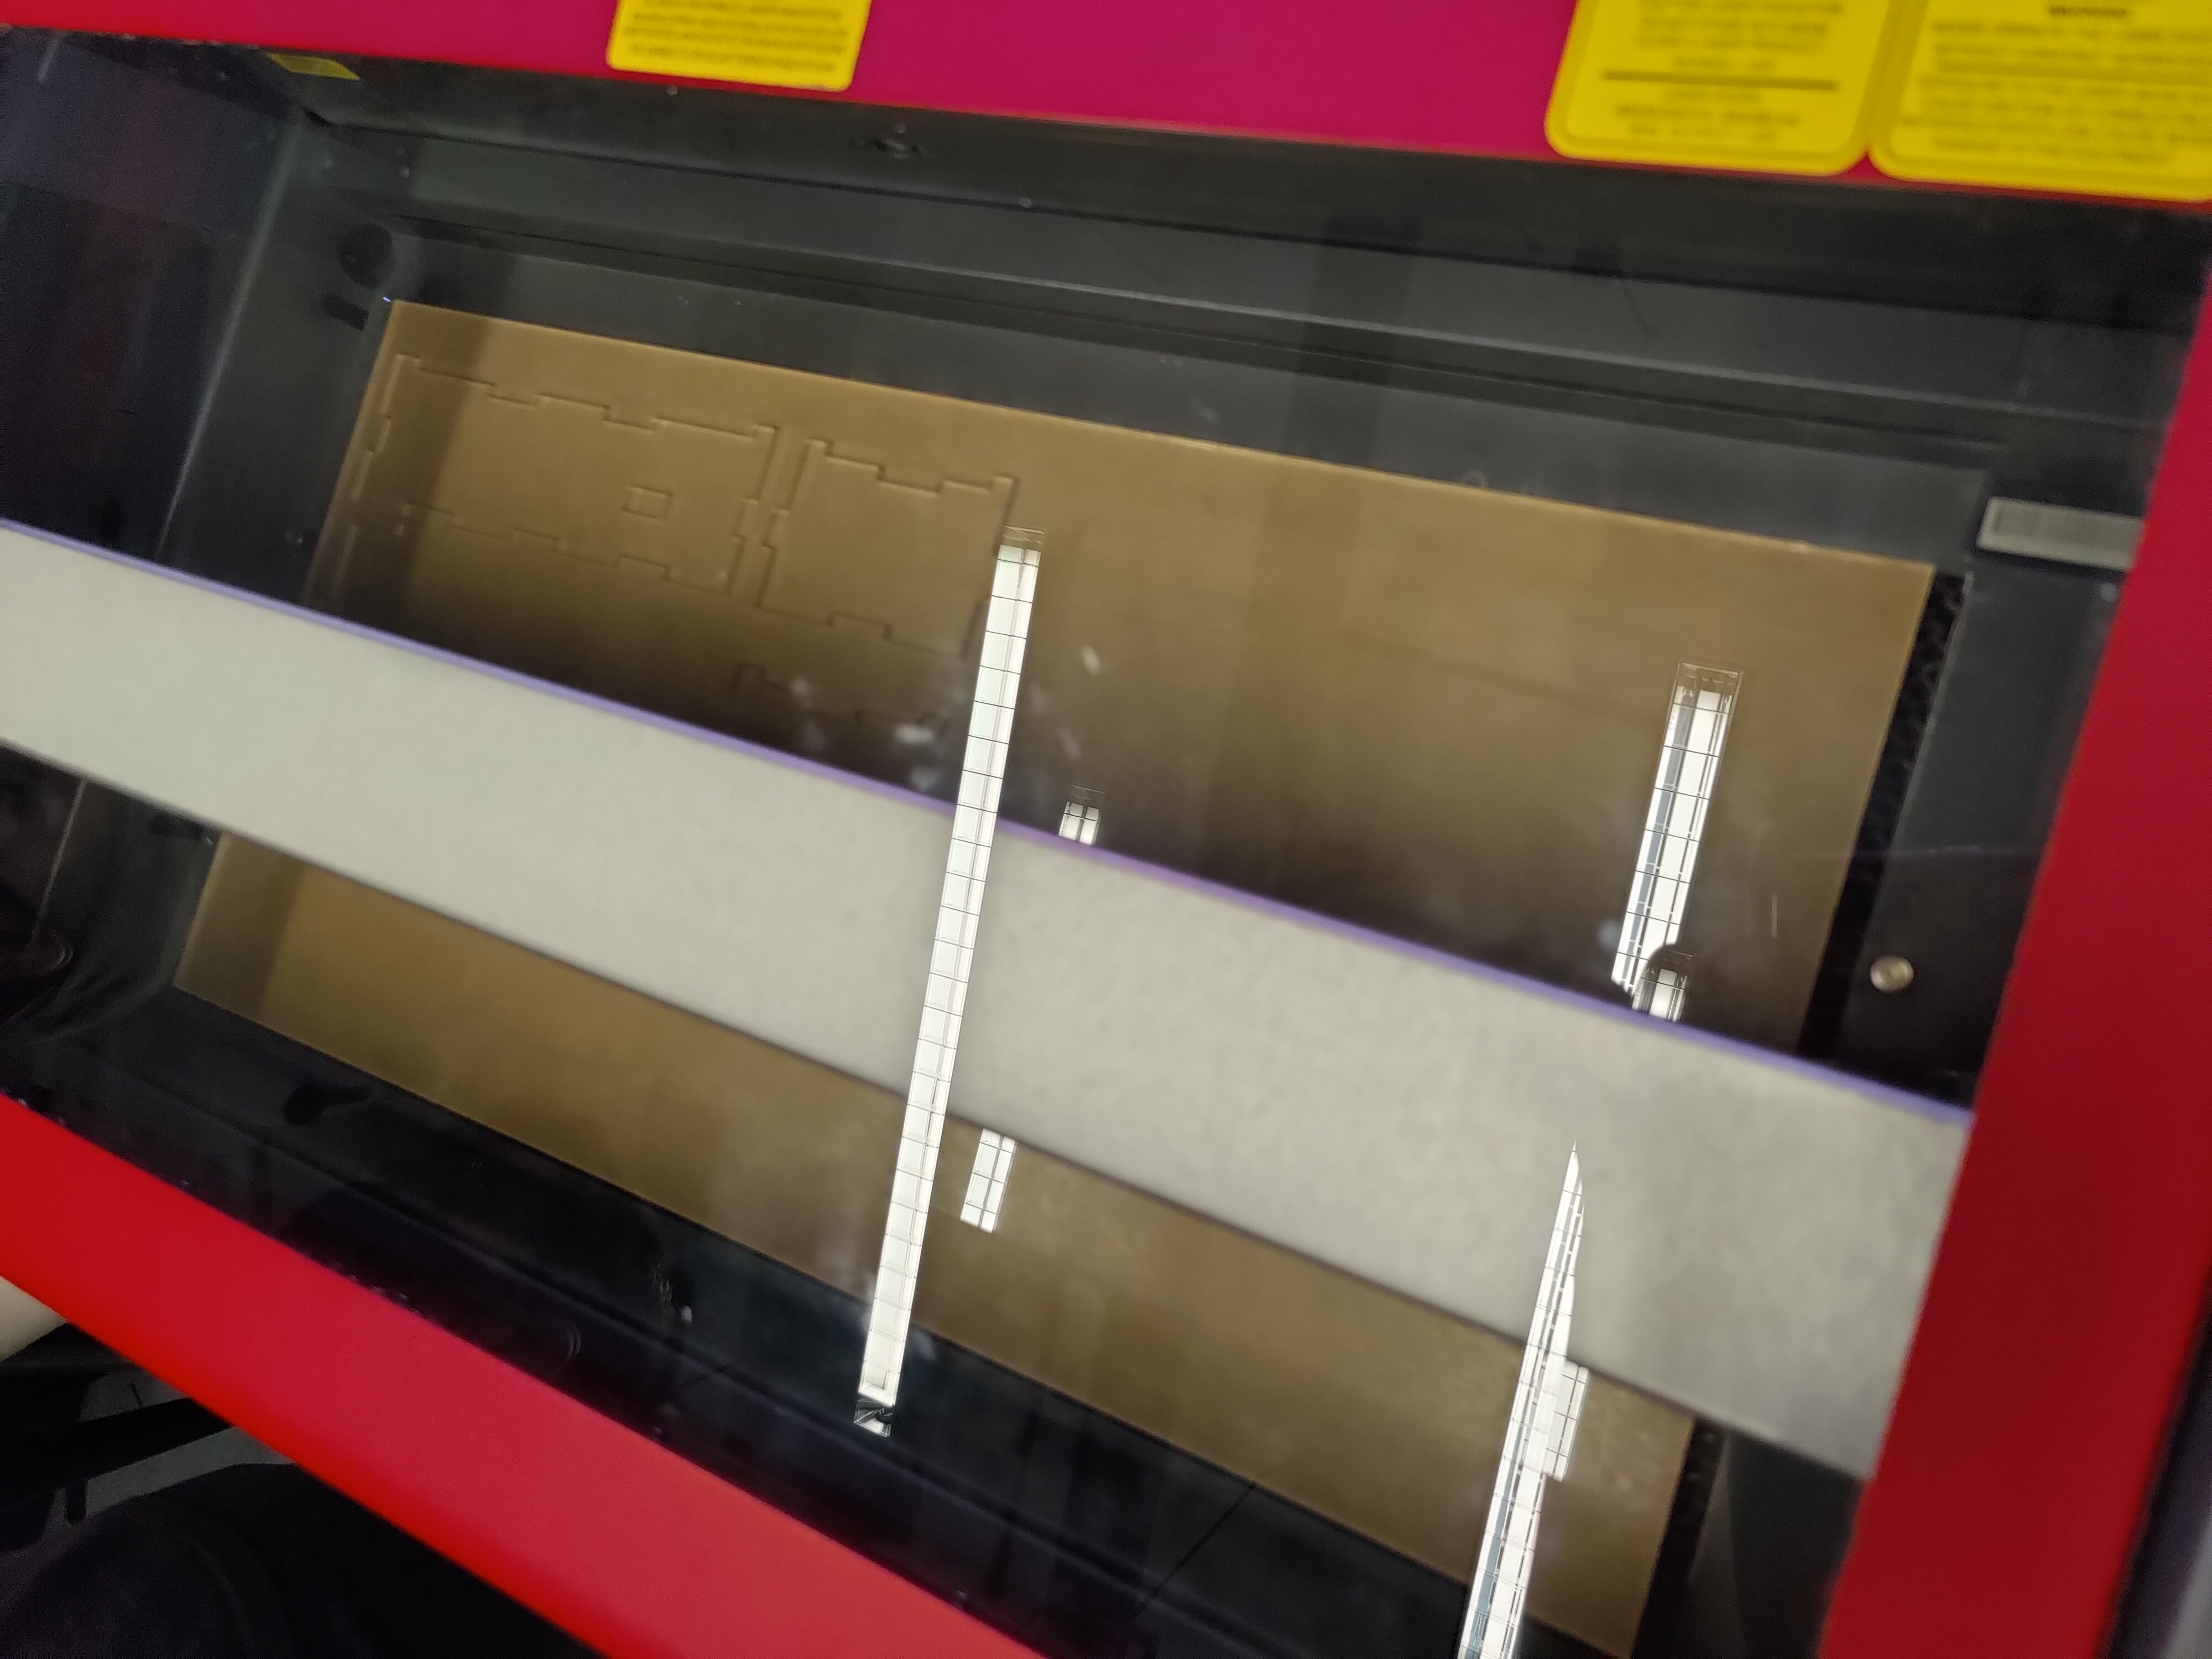
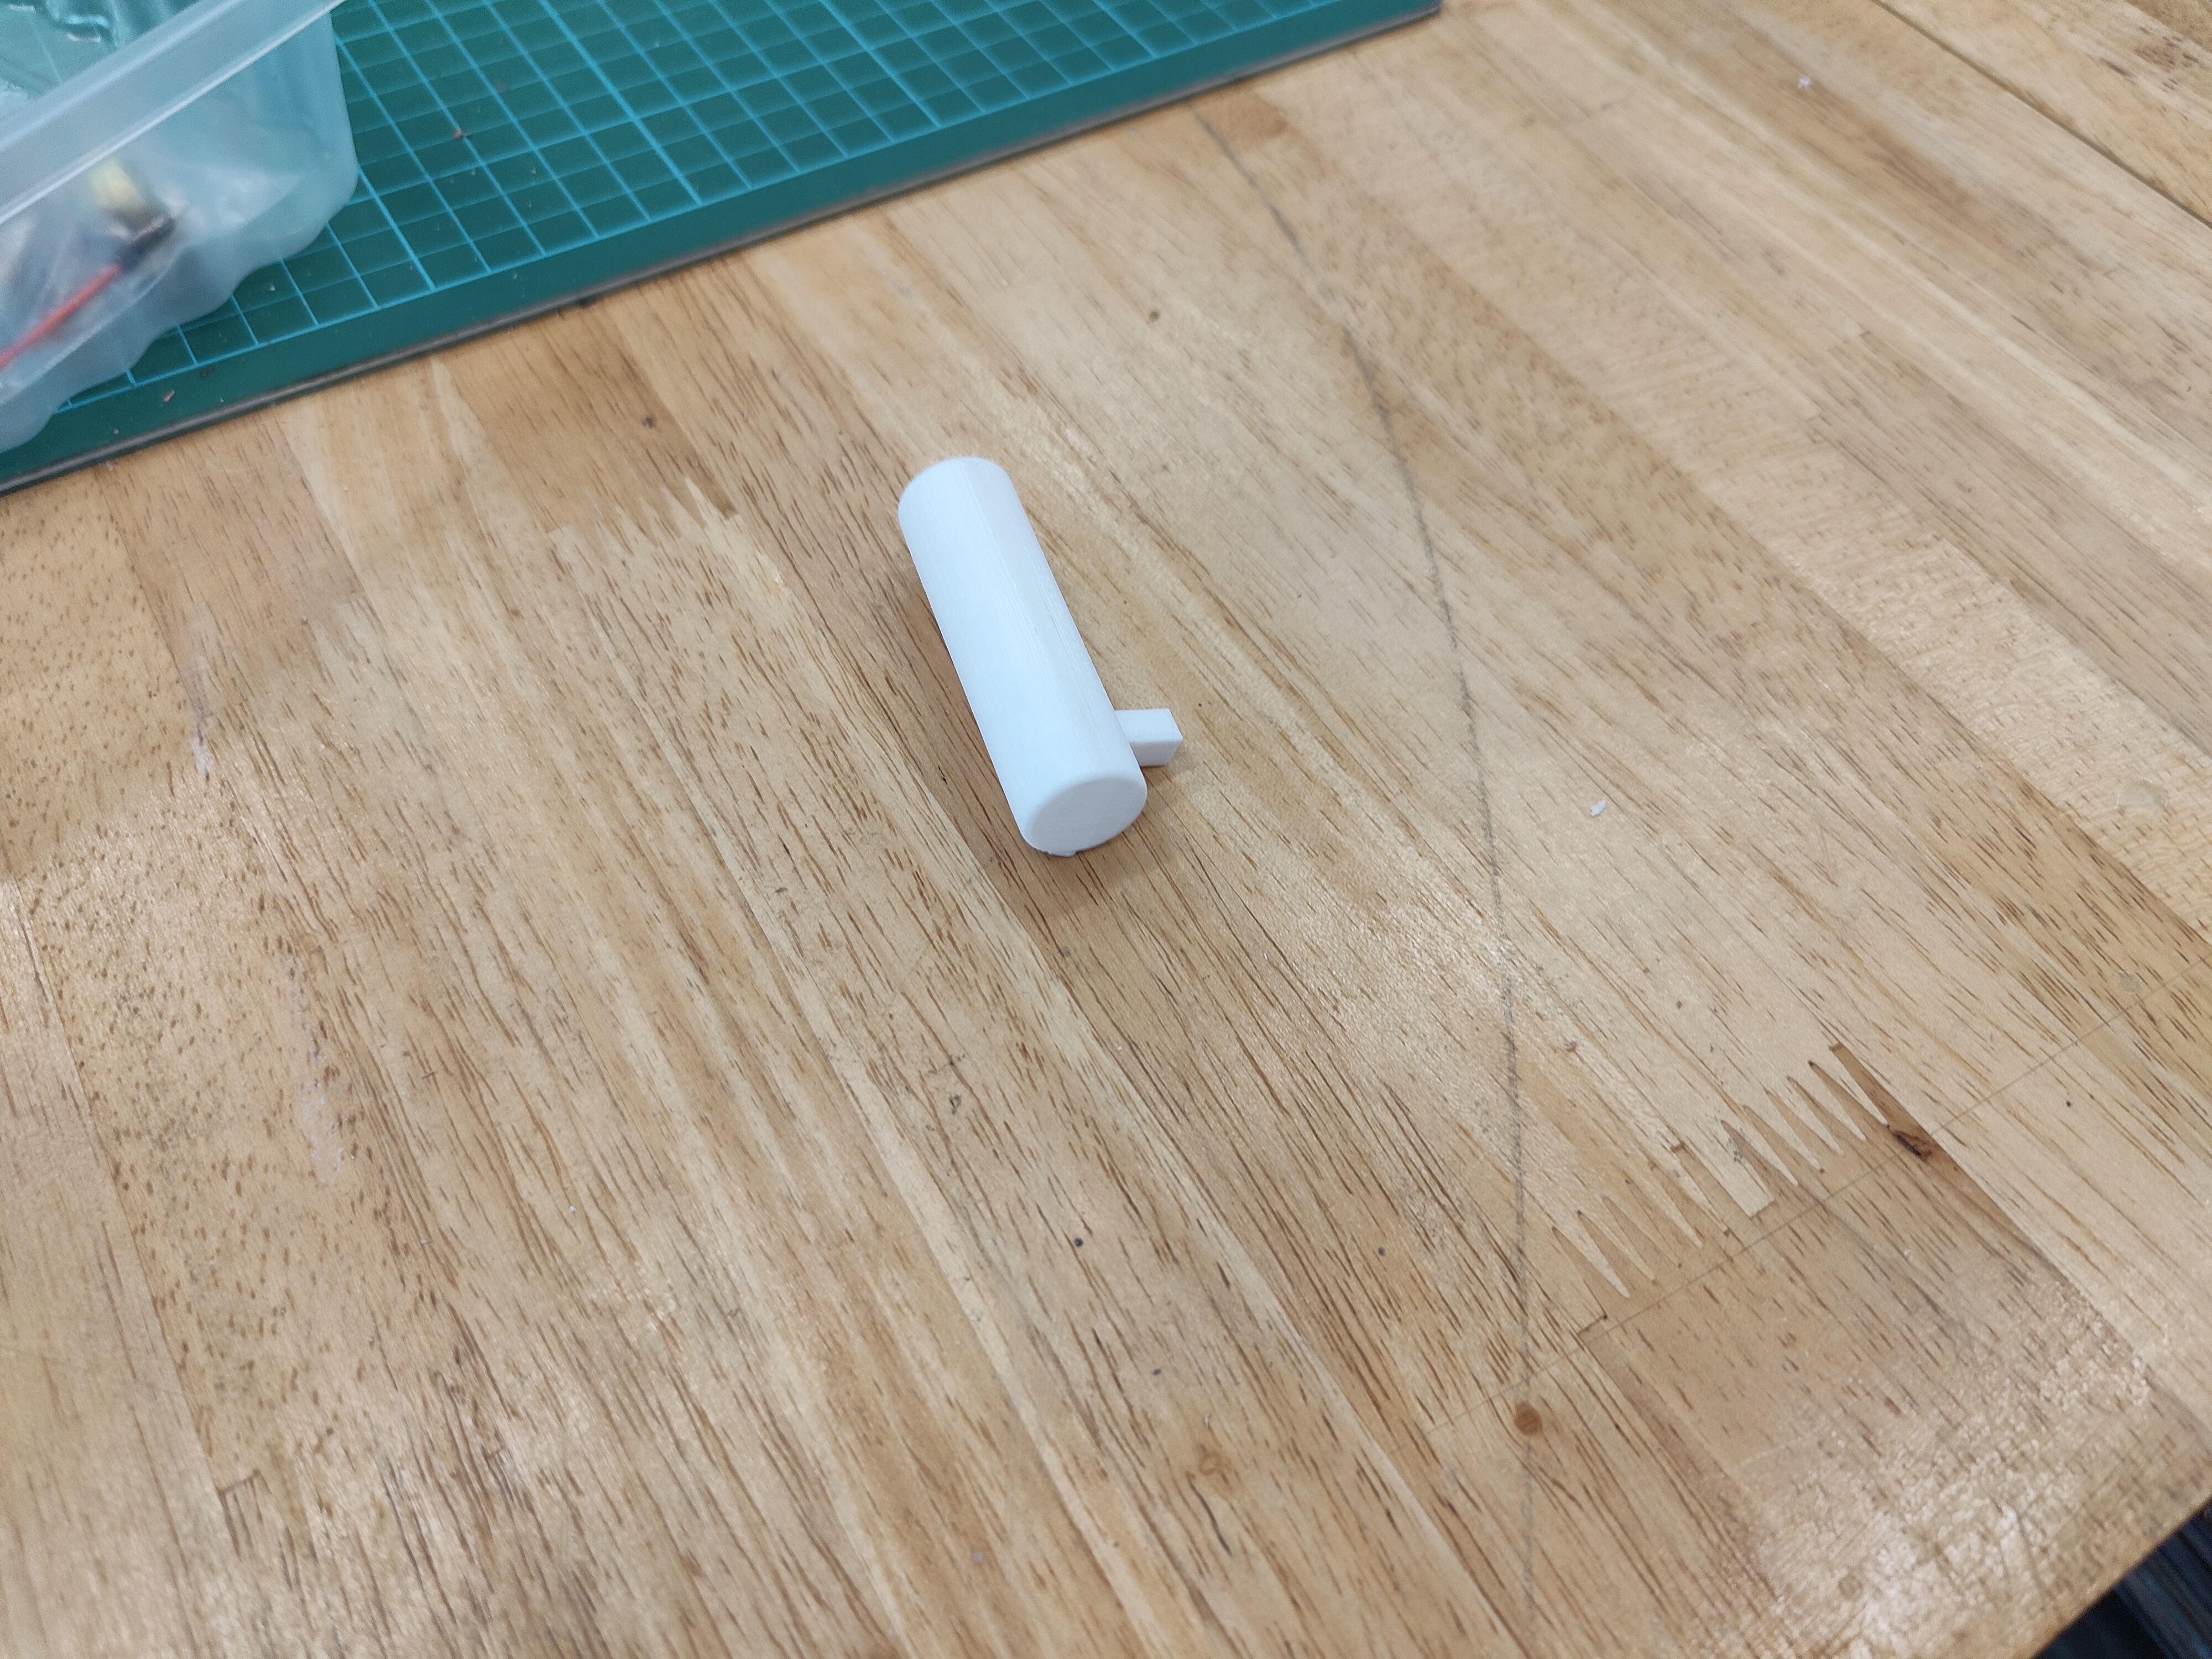
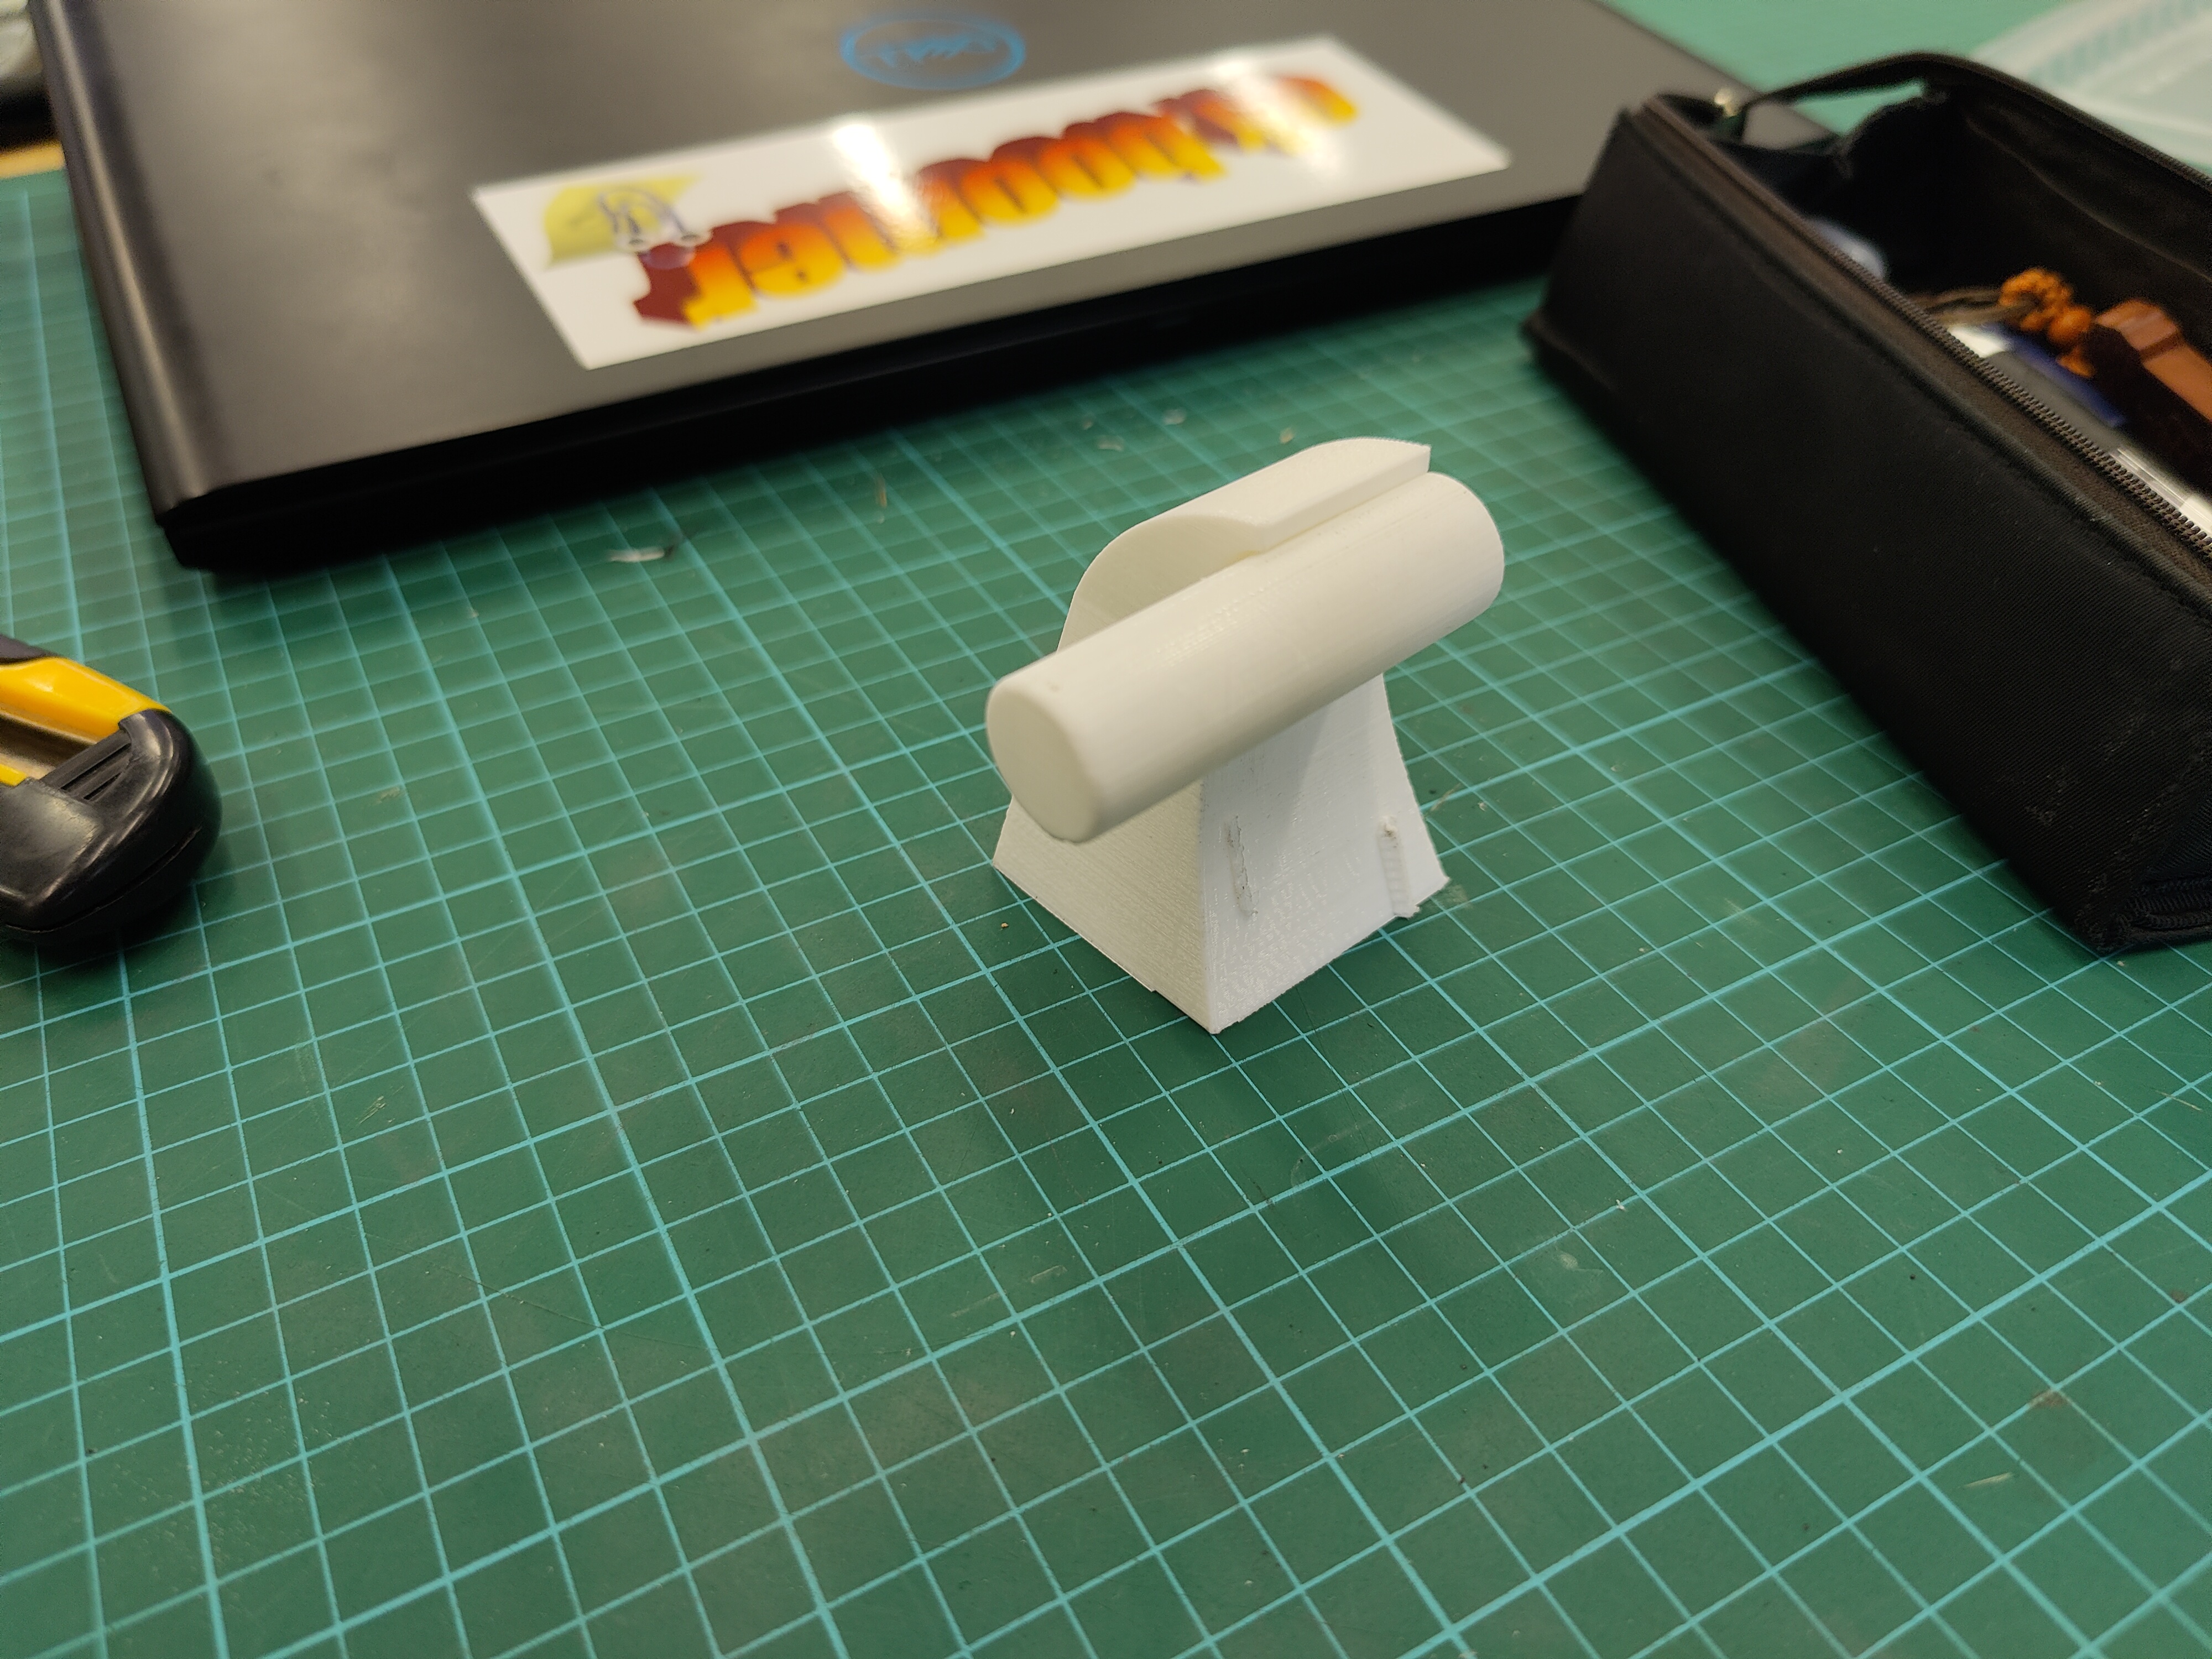
3D printed components

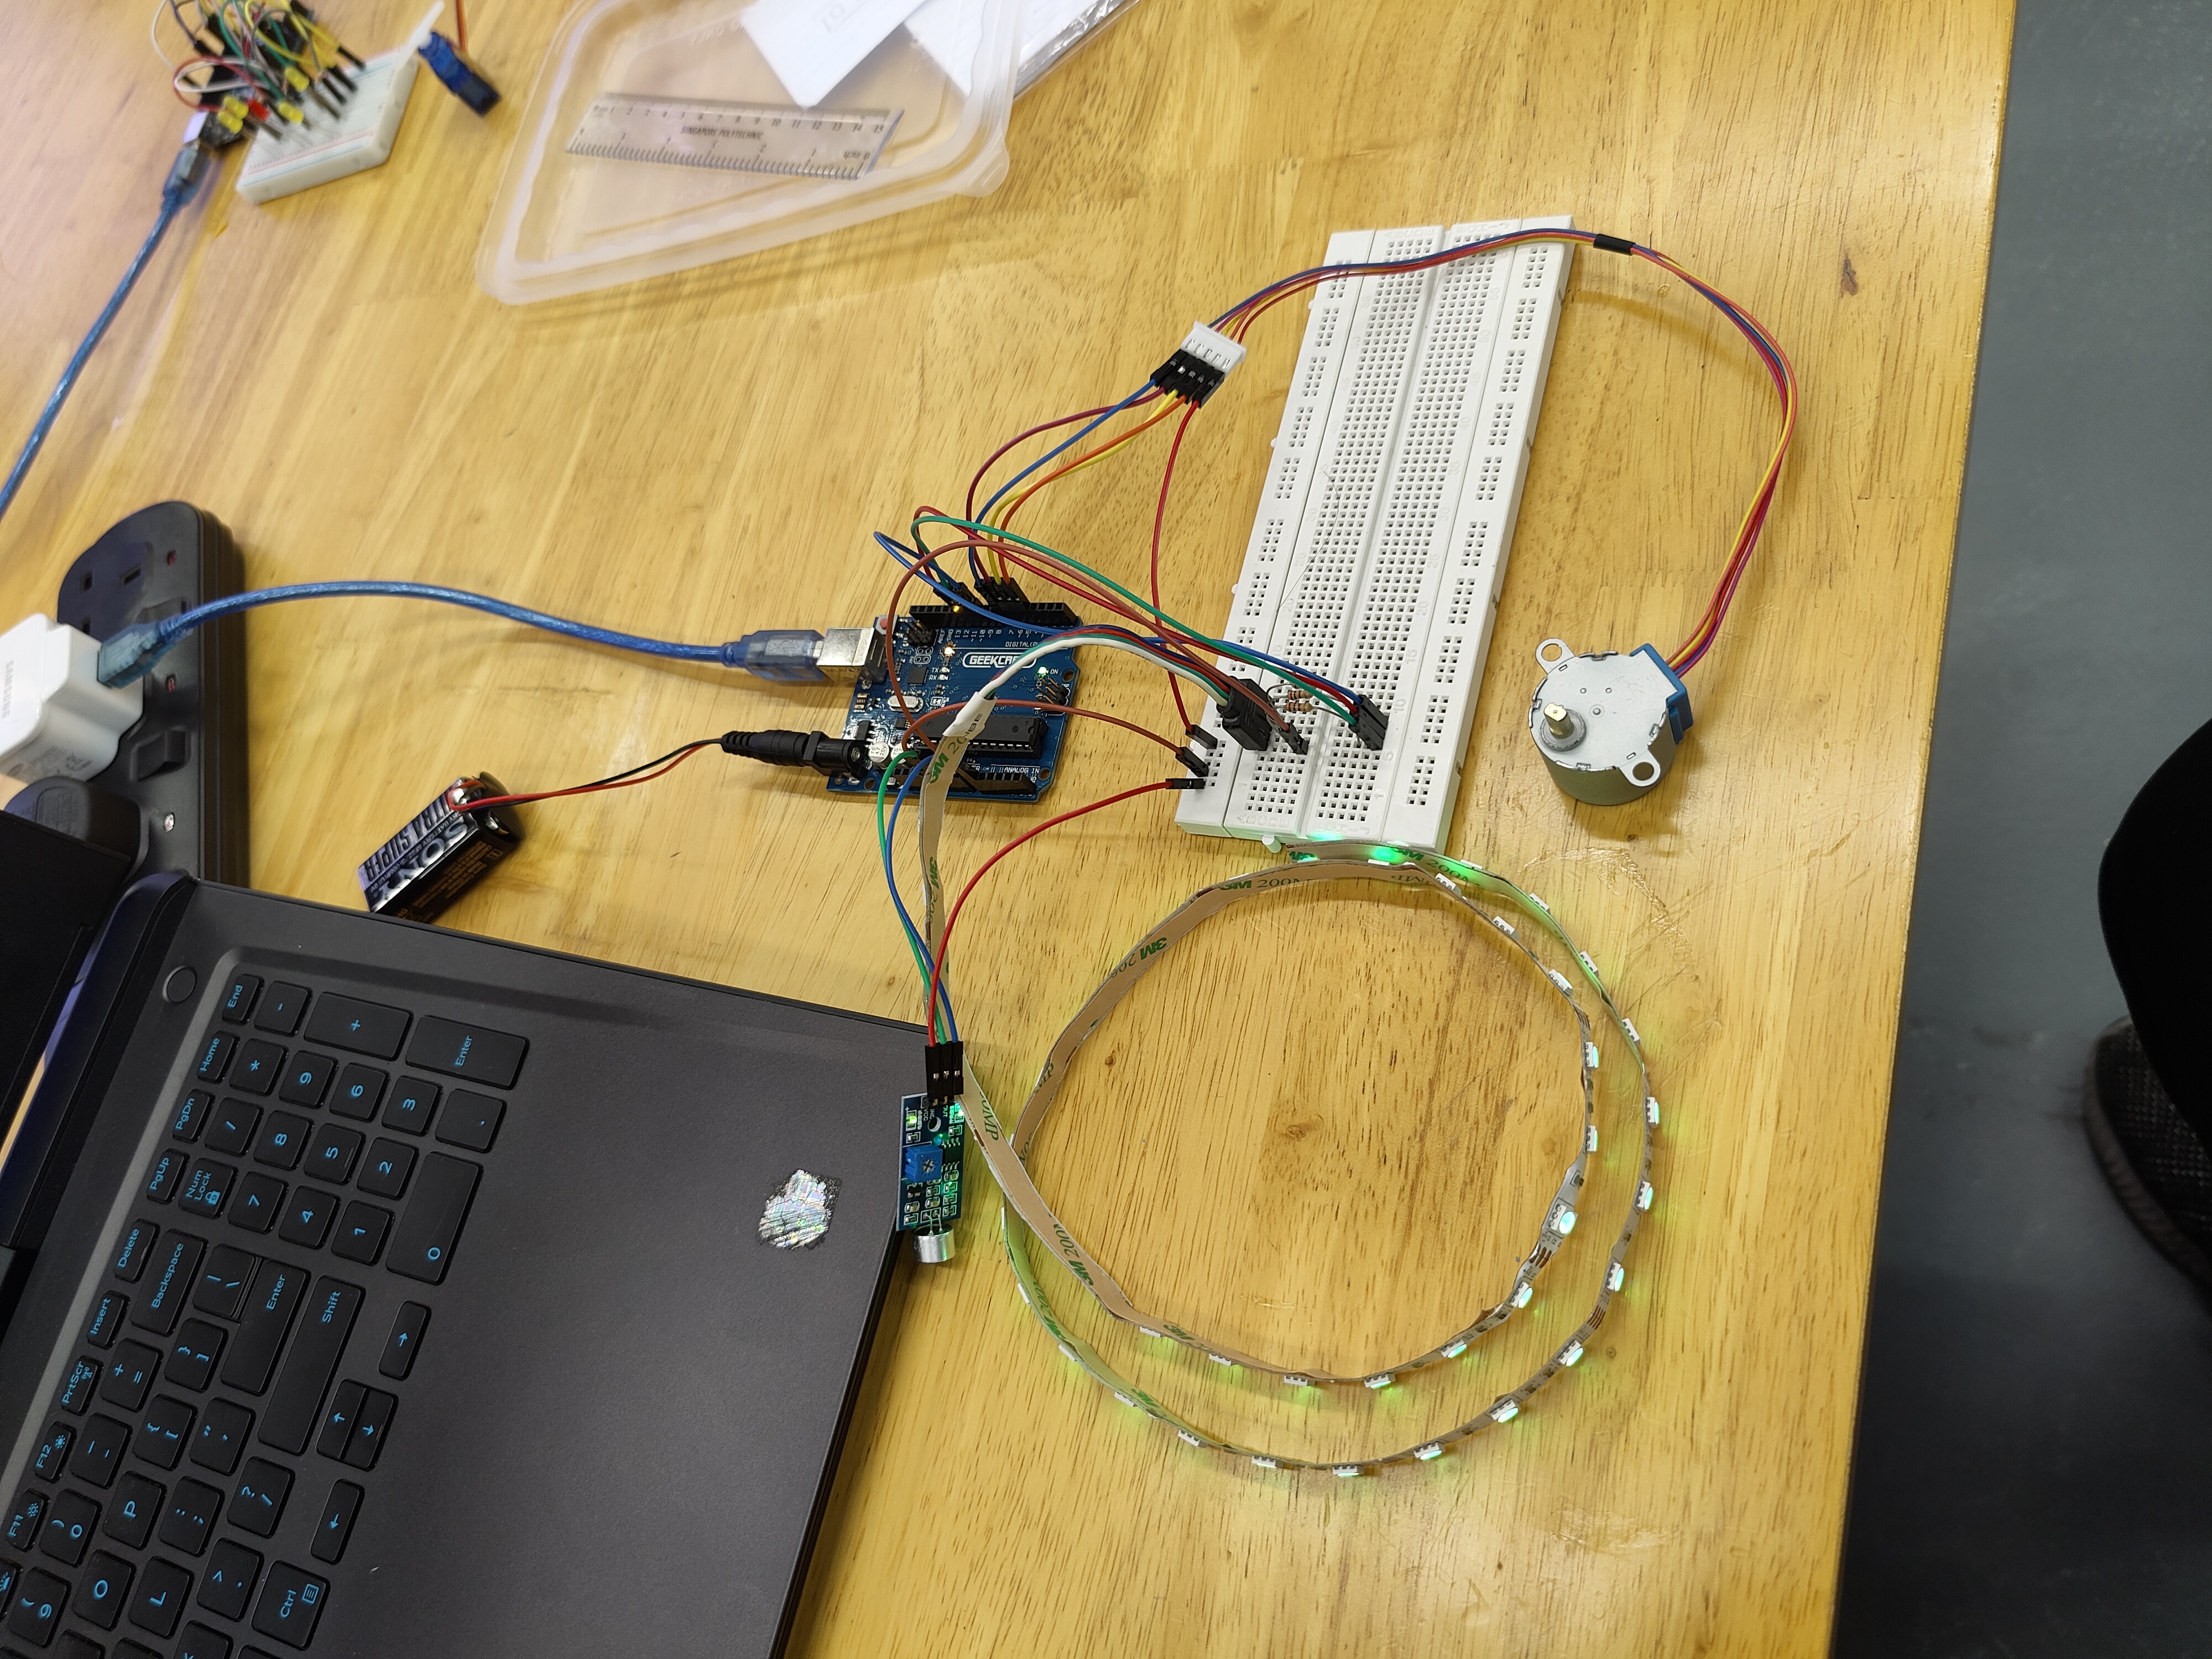
Final looks
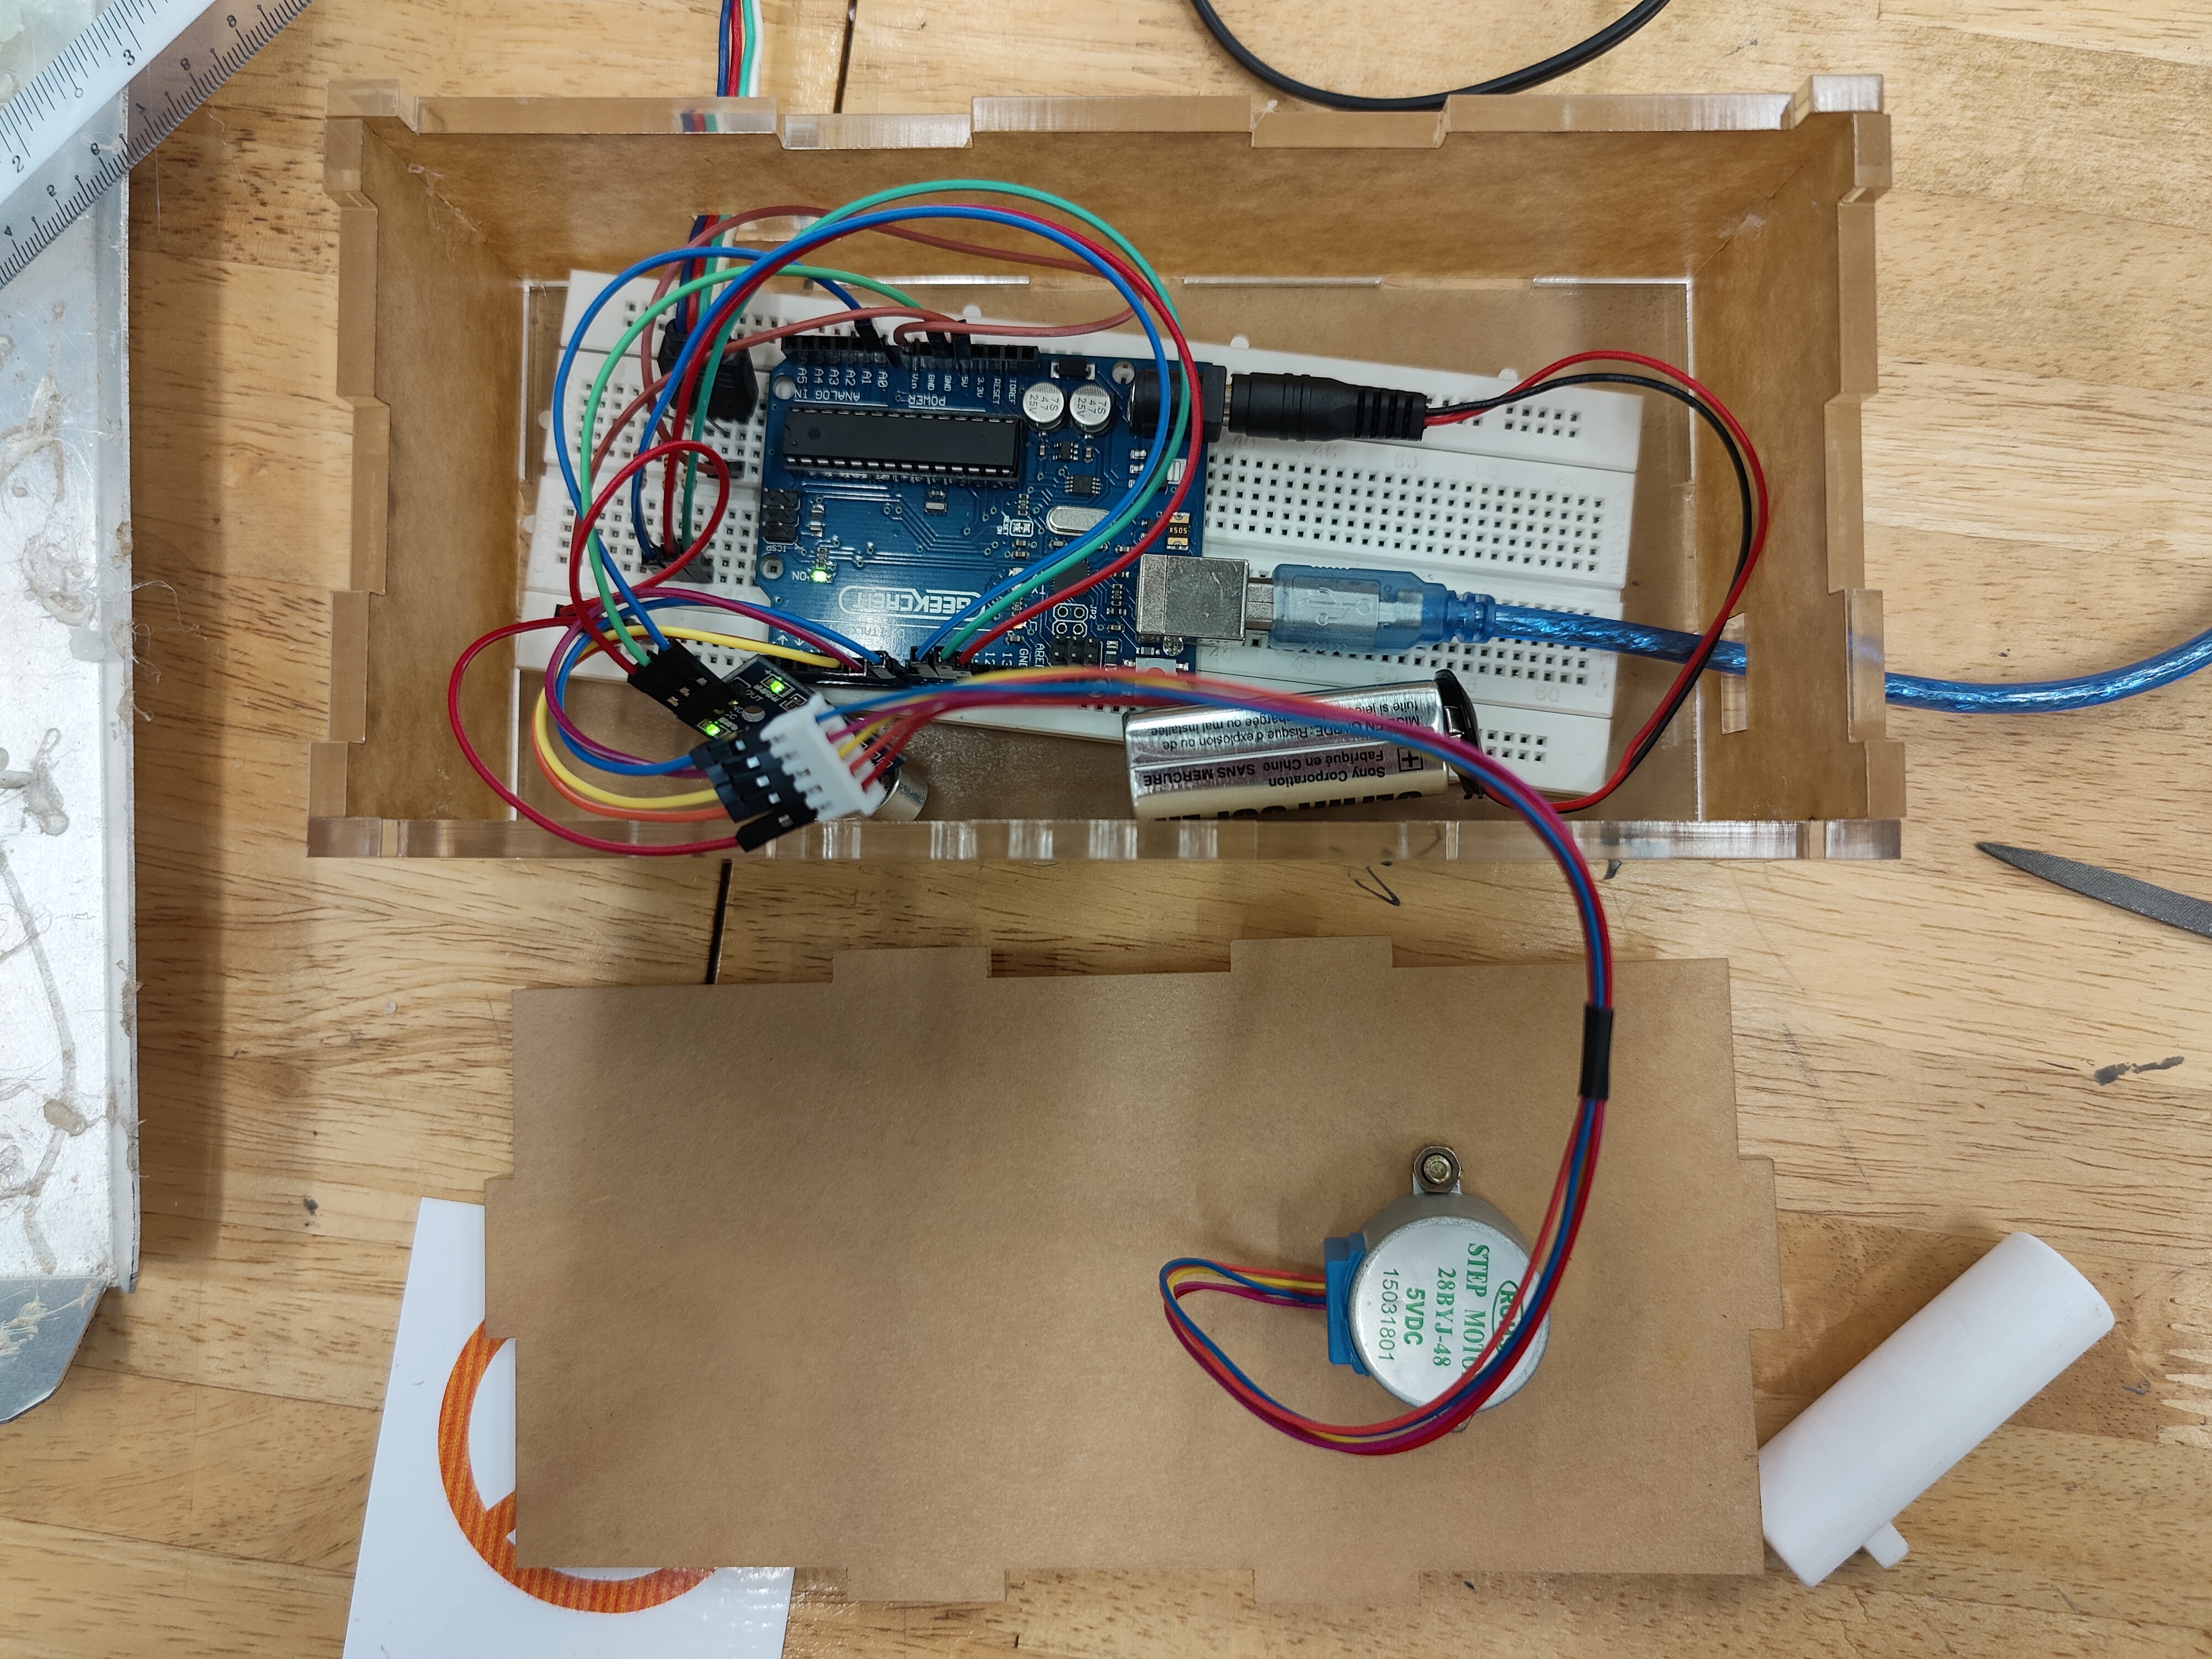
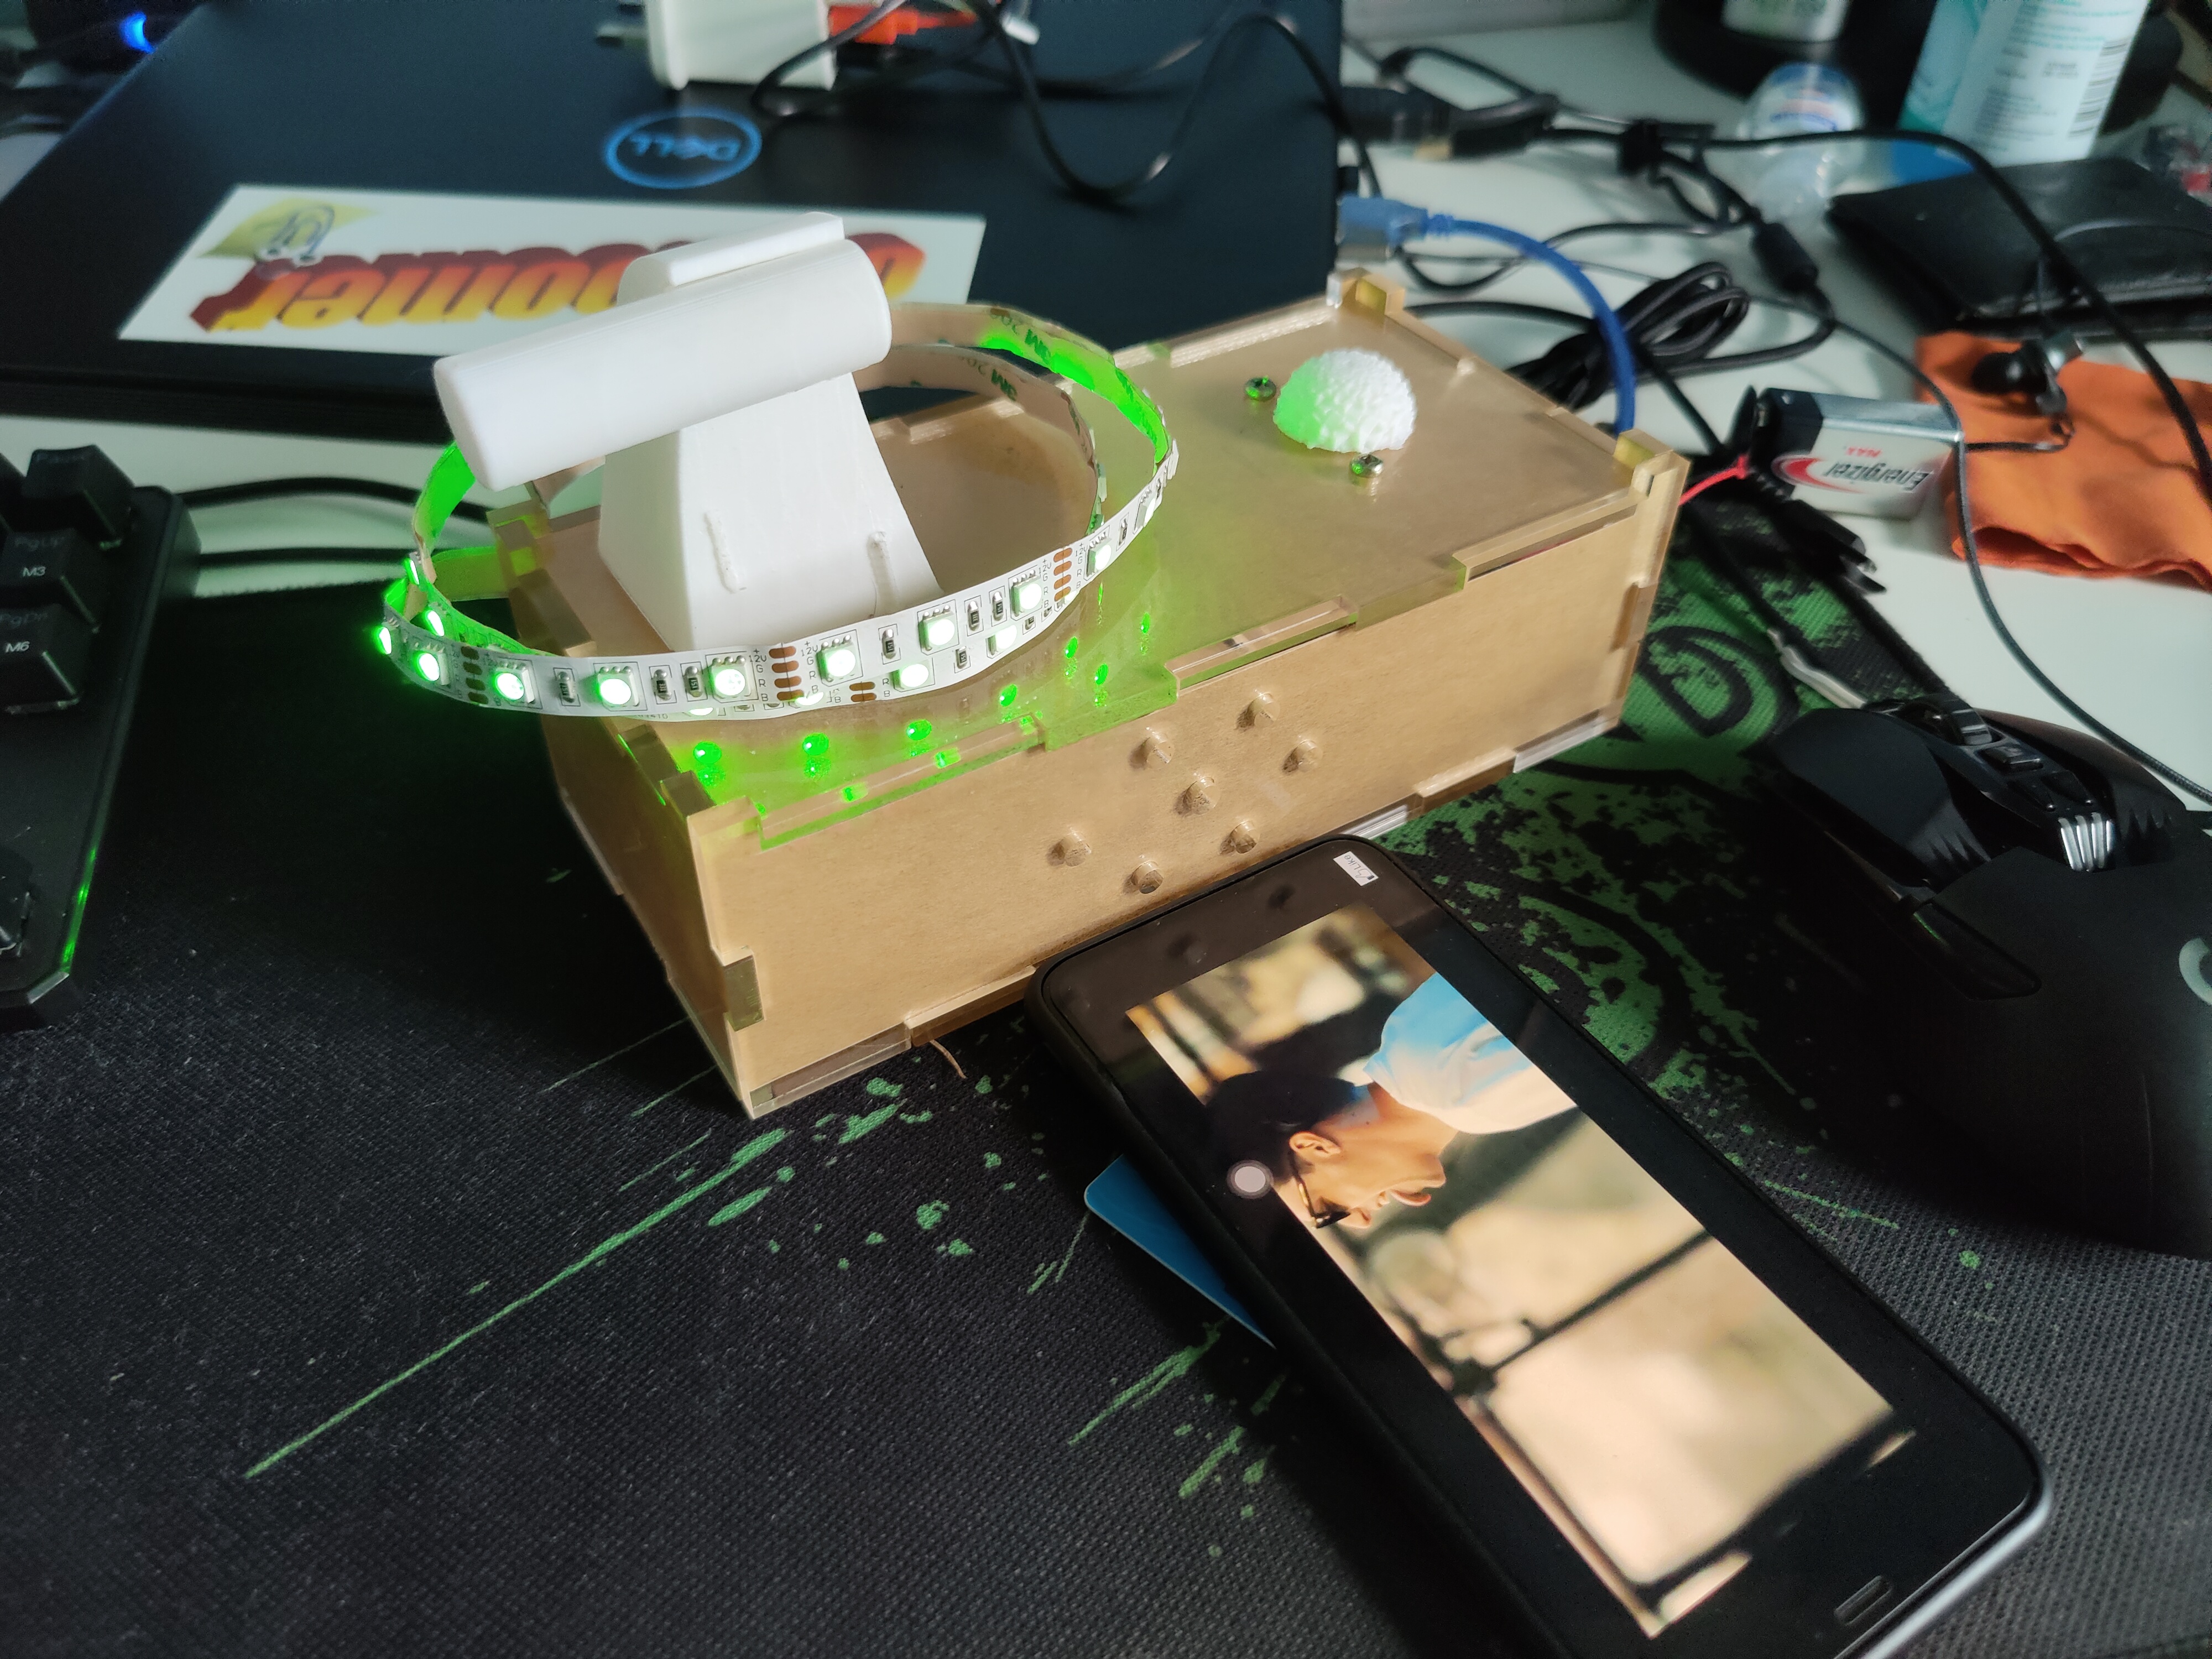 Link to my final project codes
Link to presentation Slide
Link to Final Project Video

 `
` 


 Link to my final project codes
Link to presentation Slide
Link to Final Project Video